Sending a message campaign — a broadcast to your members — is a 4-step wizard.
The wizard
- 01Open Message Centre → Message Campaigns
From the portal sidebar.
- 02Click + (create new)
Routes to
/createmessagecampaign. The 4-step wizard opens. - 03Step 1 — Campaign Details
Fields: campaign name, campaign type, message subject. If you pick "Goal Alerts" as the type, the wizard routes you to
/actionalertsinstead — that’s a separate flow. - 04Step 2 — Select Lists
Pick the customer segment(s) to send to.
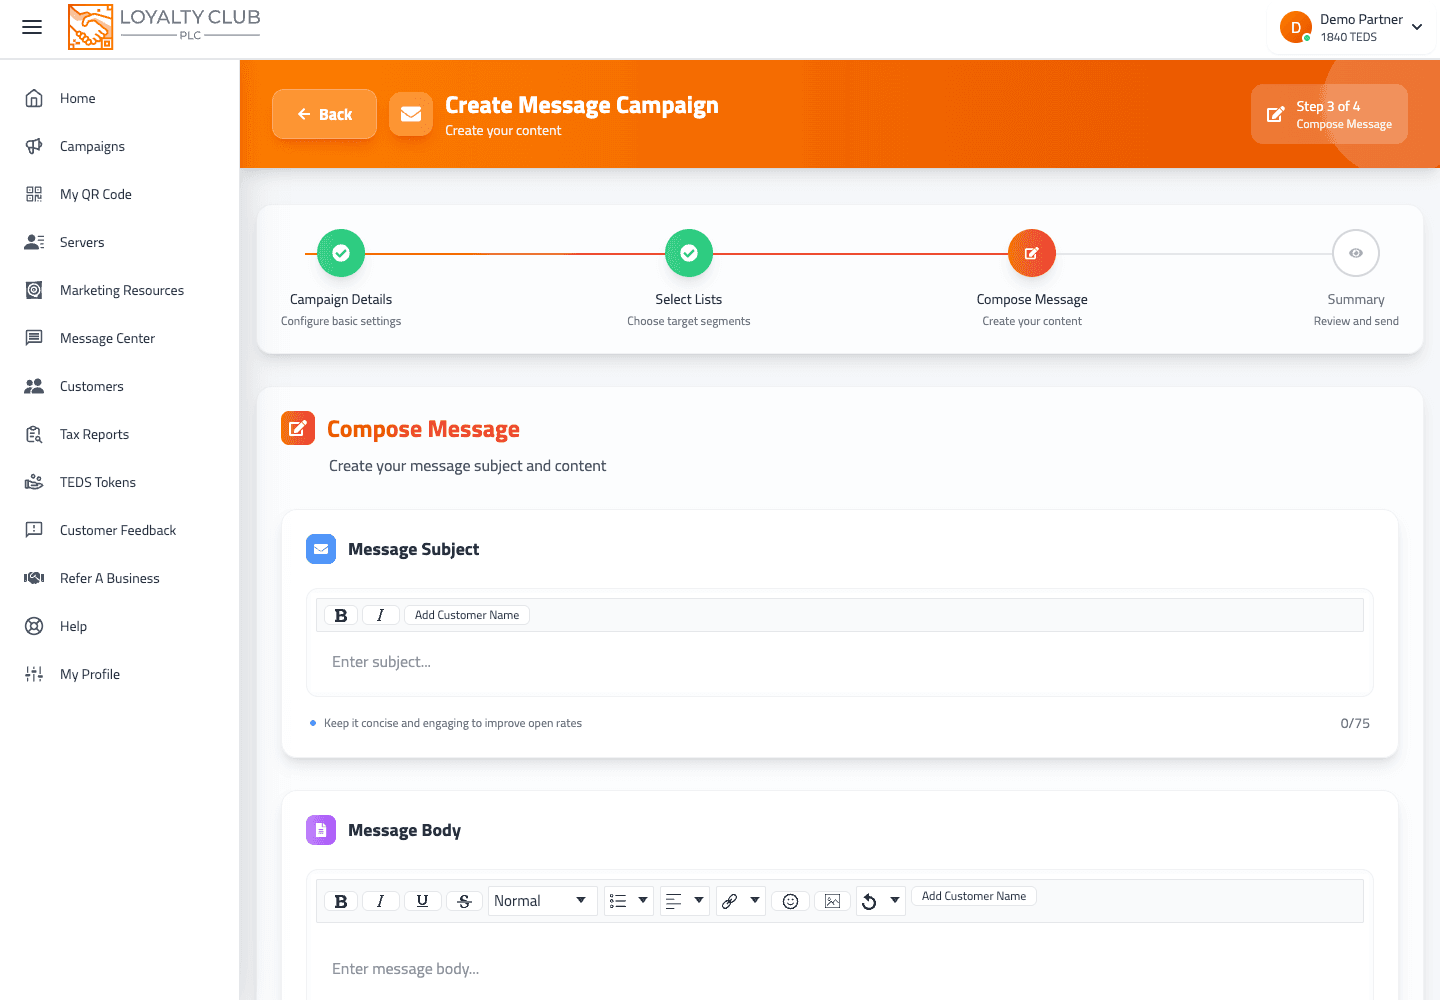
- 05Step 3 — Compose Message
Write the message body in the editor.
- 06Step 4 — Summary
Review the campaign and the date/time. Send.
What to know
- Available campaign type options on Step 1 beyond "Goal Alerts" — available options can vary by account and campaign setup.
- Available customer segments on Step 2 — these are populated from the partner’s campaigns; what segments map to depends on your setup.
- Editor capabilities on Step 3 (rich text, plain text or variable substitution) — check the composer controls shown on your account.
- Scheduled-send timezone behaviour — check the scheduled time carefully before confirming a send.
After sending
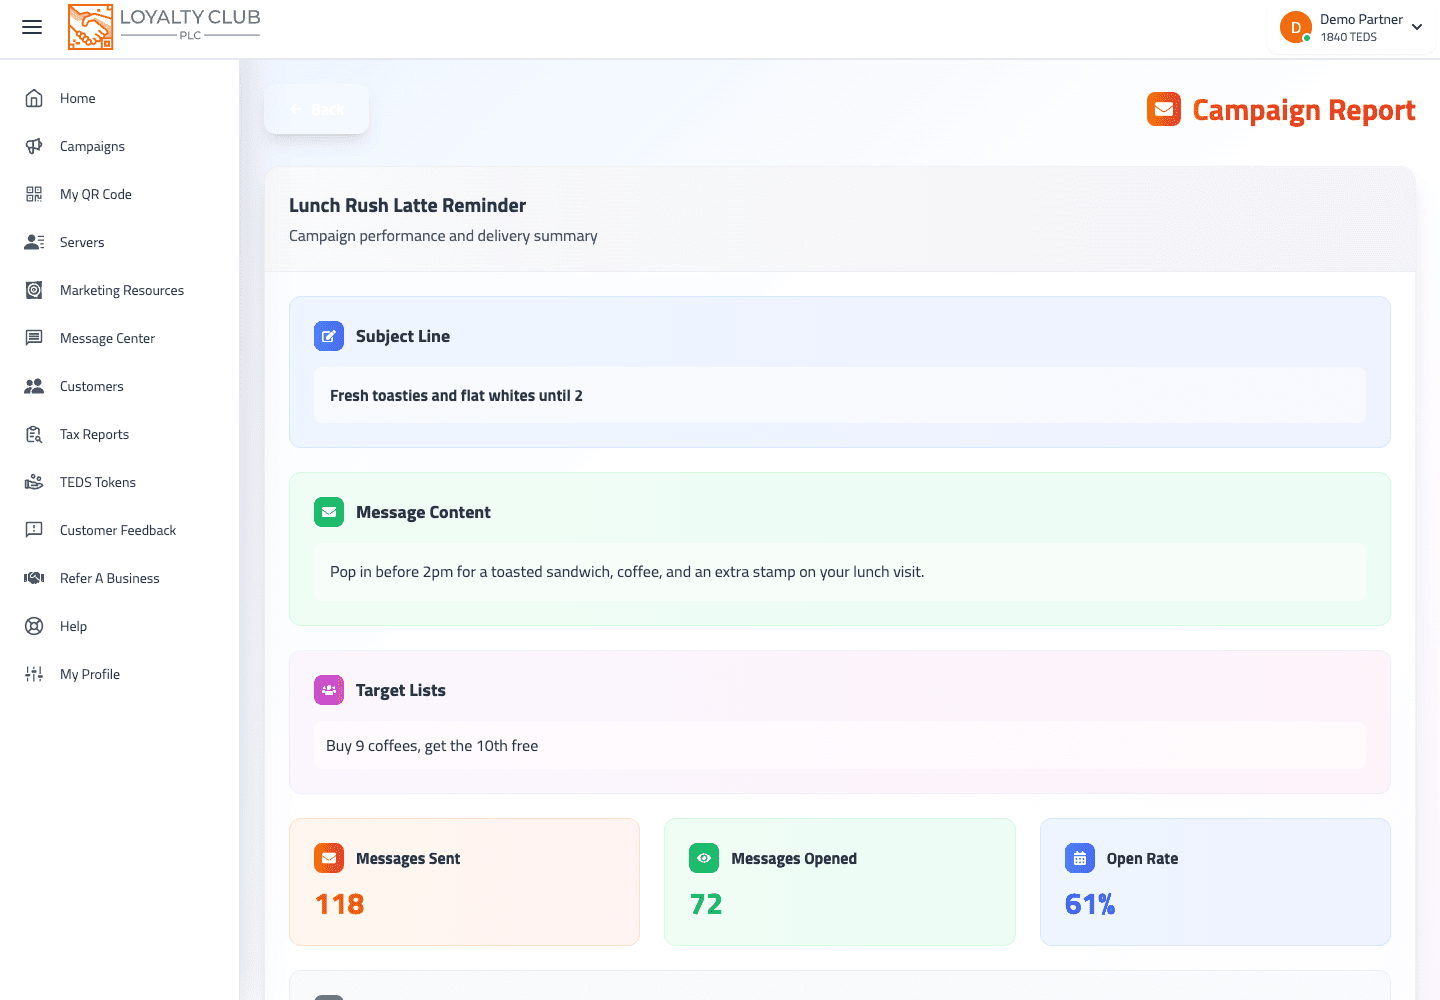
Sent campaigns appear in /messagecampaigns. Click in for a sent-message summary view.
In one sentence
Message Centre → Message Campaigns → + → 4 steps (Details → Select Lists → Compose → Summary) → send.