A campaign is created via the 4-step wizard at /addcampaign. About 3–5 minutes for a typical campaign.

Before you start
Decide:
- Campaign type — visit-based ("Buy X, Get Y Free") or spend-based ("Spend X Amount To Earn a Stamp").
- Stamp goal — how many stamps to redeem the reward (typically 10).
- Reward — what the customer gets when the card’s full.
- Reward financials — your net cost + RRP. Used for tax / accounting context.
- Whether to enable TEDS — opt-in toggle on the Financial step.
- Referral bonuses — extra stamps awarded when a referred friend signs up + transacts (optional).
Step 1 — Basic Information
Fields:
- Campaign Name — what members see (e.g. "Buy 9, Get 10th Free").
- Reward Name — e.g. "Free Cup of Coffee".
- Campaign Type — choose between:
- "Buy X, Get Y Free (Earn a Stamp on Each Purchase)"
- "Spend X Amount To Earn a Stamp"
- Description — short context for members.
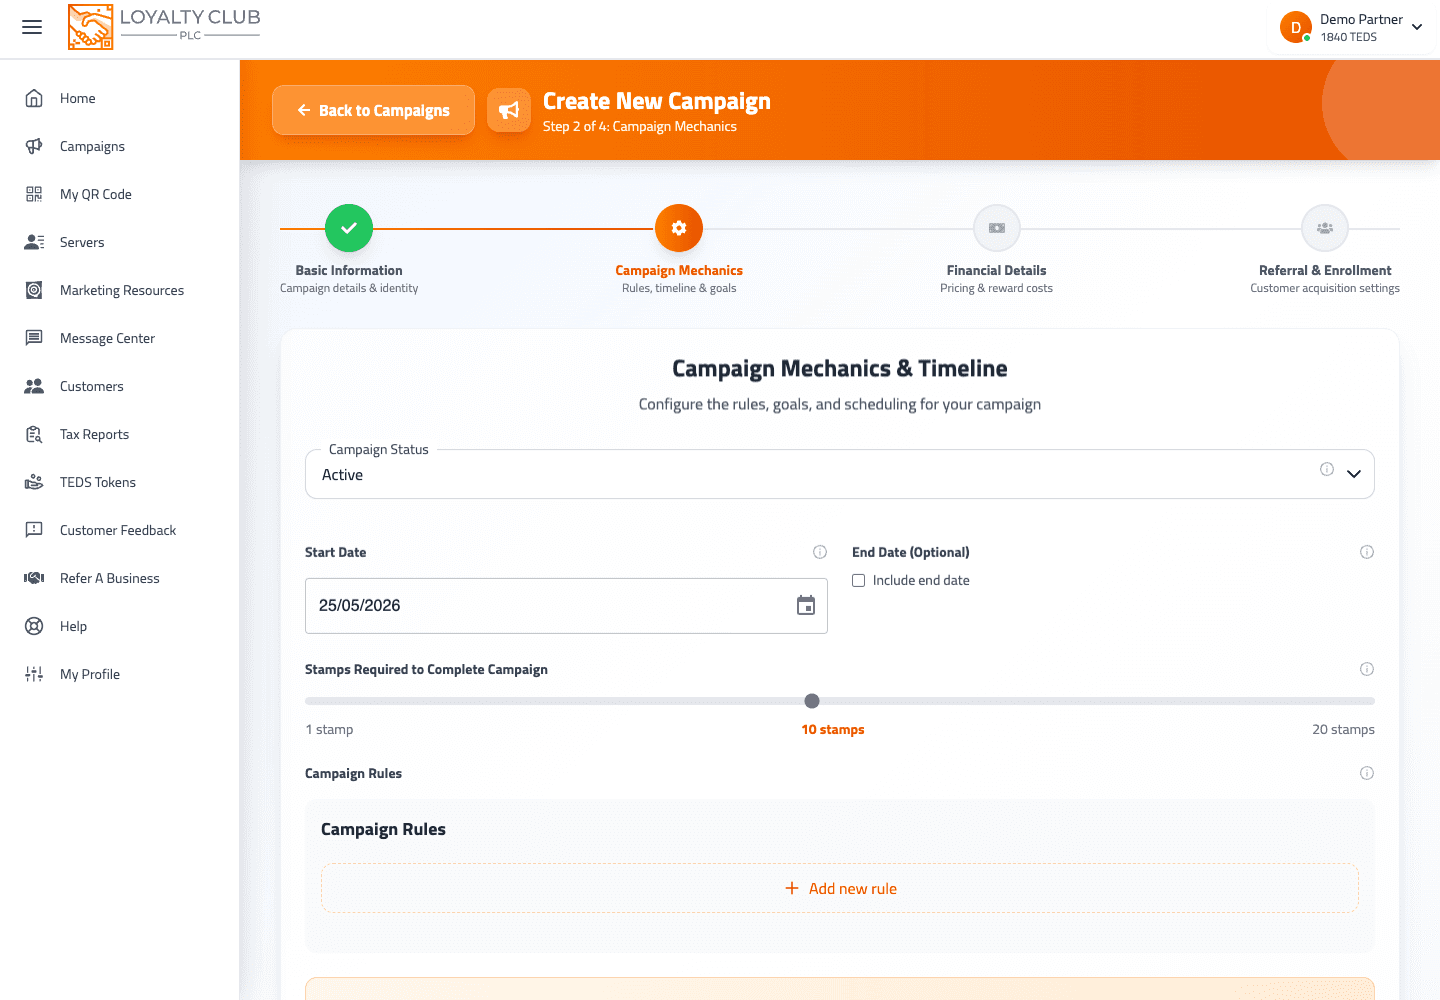
Step 2 — Mechanics
Fields:
- Status — Active or Paused.
- Goal — the number of stamps required for the reward.
- Spend Per Stamp — for spend-based campaigns; the £-amount per stamp.
- Allow Amount Accumulation (checkbox) — when on, partial spend carries to the next stamp.
- Reset Accumulation After (slider, 0–60 days) — appears only when accumulation is on.
0 = Never.
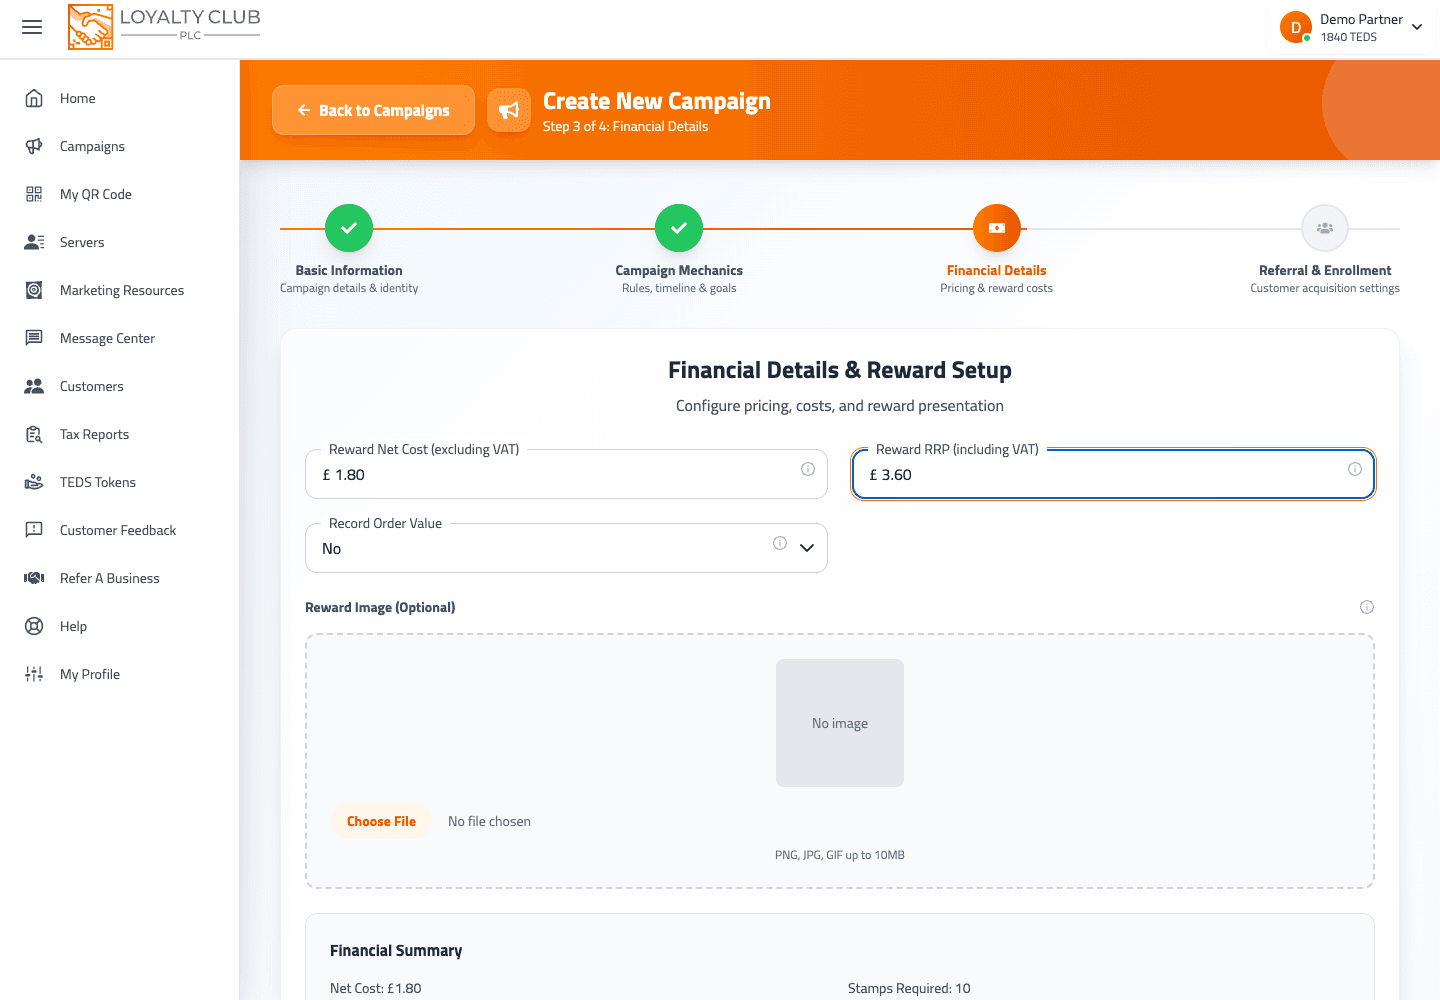
Step 3 — Financial
Fields:
- Reward Net Cost — your real cost to fulfil the reward.
- Reward RRP — recommended retail price (customer-facing value).
- TEDS Trading System (toggle) — opt in or out per campaign. When on, the TEDS-per-stamp value displays read-only (auto-calculated). When off, the field is greyed out.
- Two additional select fields (
valueandcompulsory) appear in this step, gated by the campaign type chosen in Step 1. We don’t document their behaviour yet — they’re part of the TEDS configuration logic.
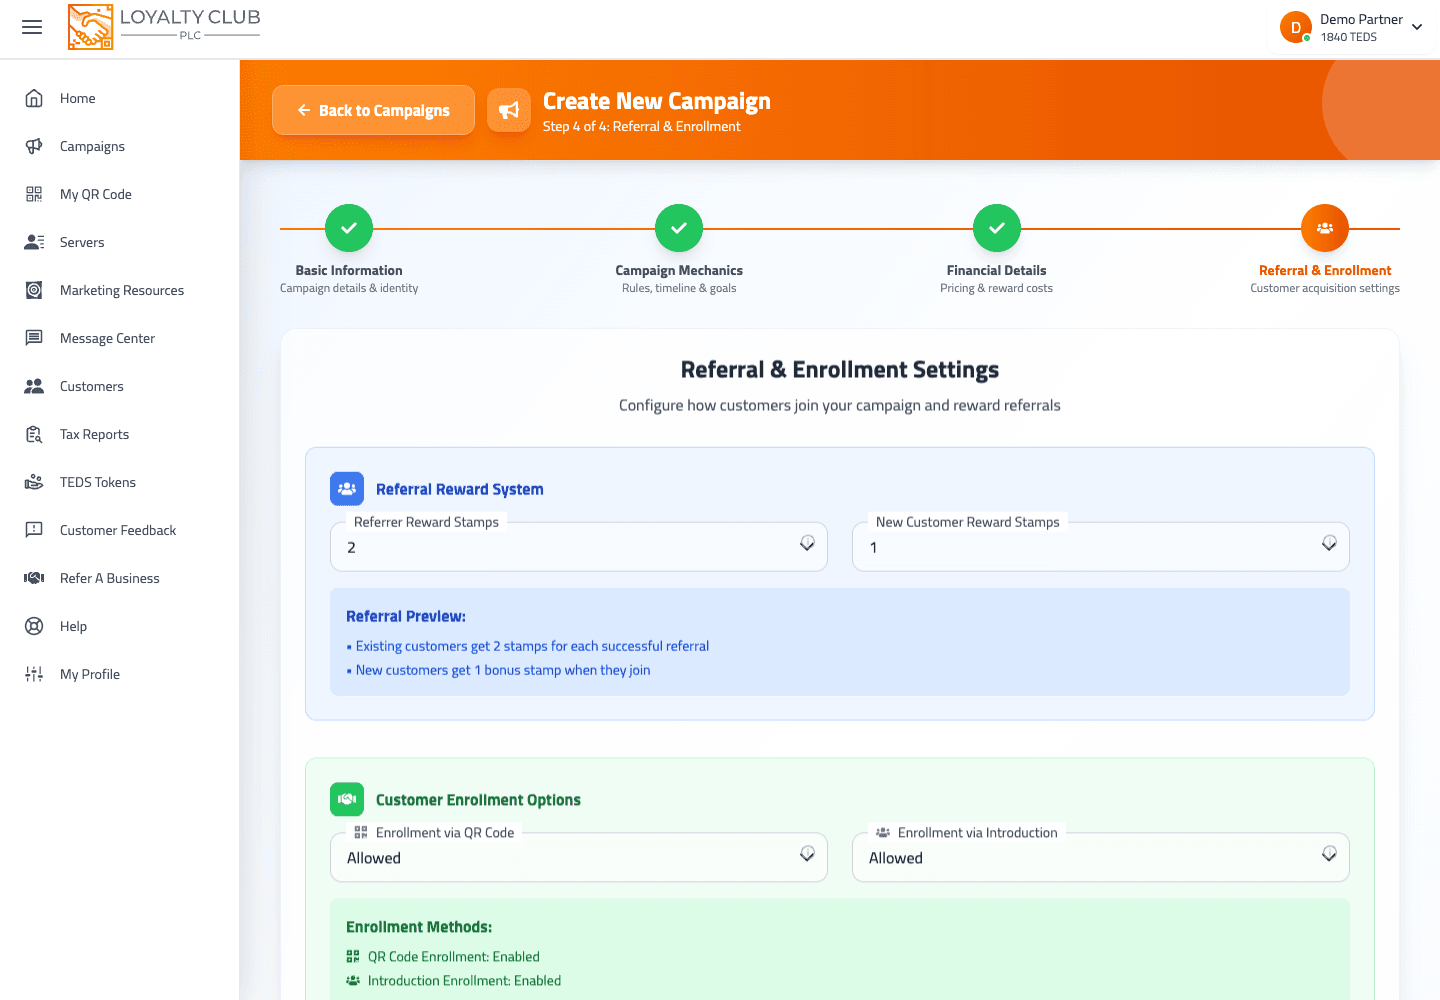
Step 4 — Referral & Enrollment
Fields:
- Referrer Stamps Rewarded — extra stamps the referring member gets when their friend transacts.
- Referred Friend Stamps Rewarded — bonus stamps the new member gets on signup.
- Enrolment Via QR (checkbox) — members can enroll by scanning the campaign’s QR code.
- Enrolment Via Introduction (checkbox) — staff can introduce a new member who joins the campaign on first stamp.
At least one of the two enrollment options must be enabled.
After Step 4
The wizard validates each step on Next. The final step has a Create button which submits the campaign. Once created, the campaign appears in /campaigns with its status.
Test the campaign on your own QR
After creating, scan your own QR (or an opted-in colleague’s) and award one stamp. You’ll surface any silly mistakes (wrong goal, wrong reward name) before real customers enroll.
What to know
- Campaign icon — no upload field in the wizard.
- Start / end dates — not part of the wizard.
- Decimal stamp goals — type accepted is numeric; whether decimals are valid isn’t spelled out.
- Custom rules — no free-text rules field; mechanics are set via the typed fields above.
In one sentence
/addcampaign → 4 steps (Basic Info → Mechanics → Financial → Referral & Enrollment) → Create. Live in /campaigns.