

Partner-facing branding is split across three sections of Settings.
Settings → Profile
Holds the basics:
- Business name + business category.
- Address + contact details.
- Company logo upload.
- Owner avatar upload.
Already covered in Completing your business profile.
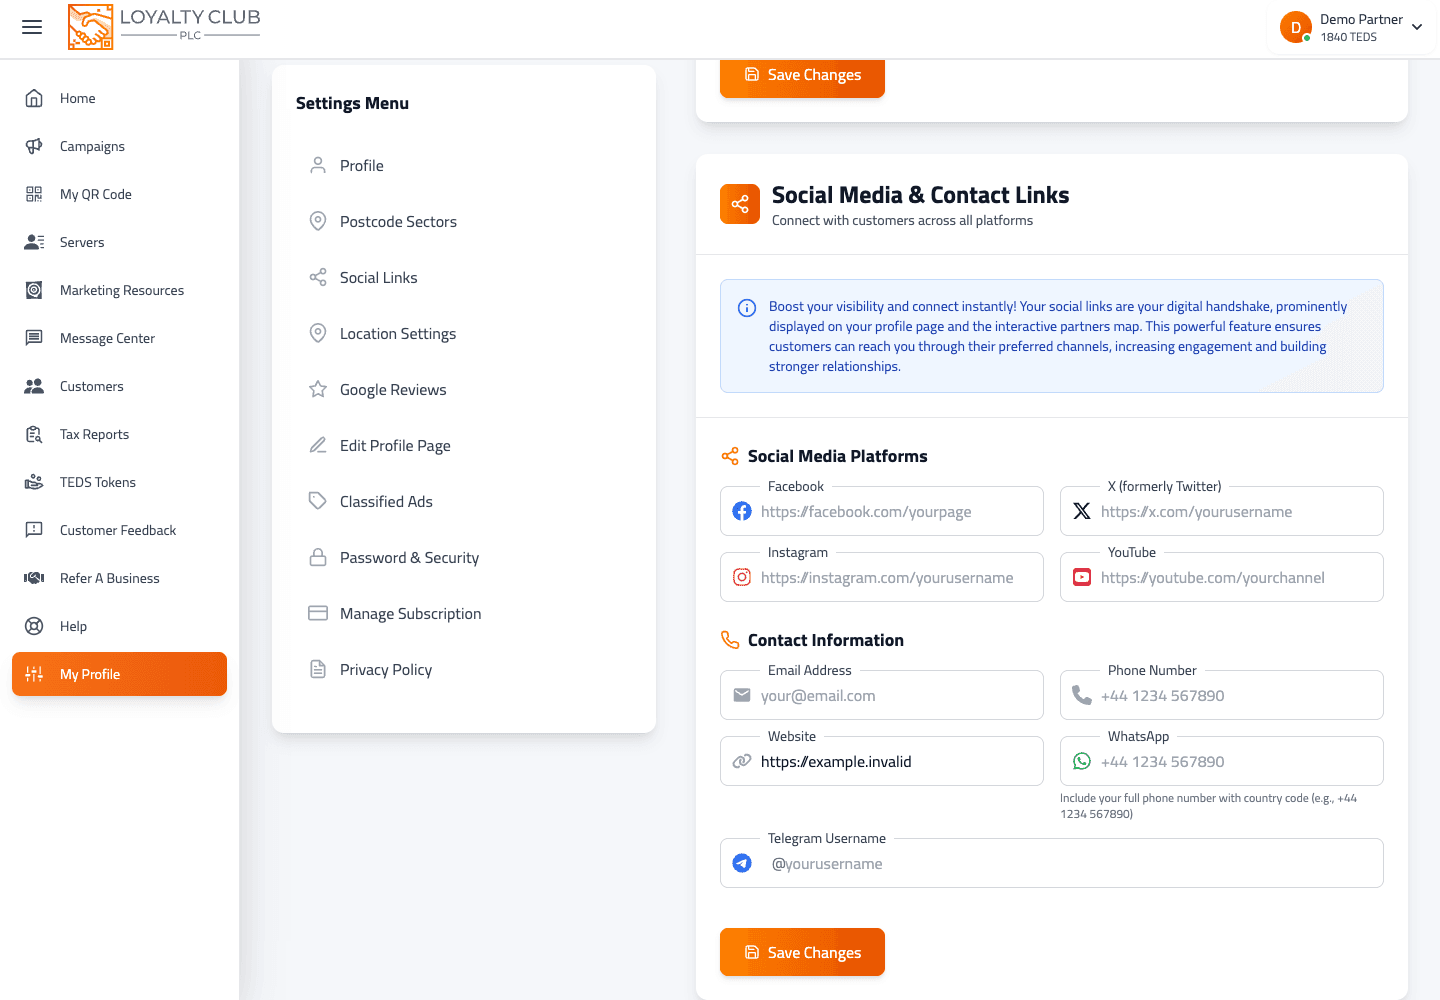
Settings → Social Links
A short form with three URL fields:
- Twitter (X)
These appear on your member-facing partner profile as tappable links.
Settings → Edit Profile Page
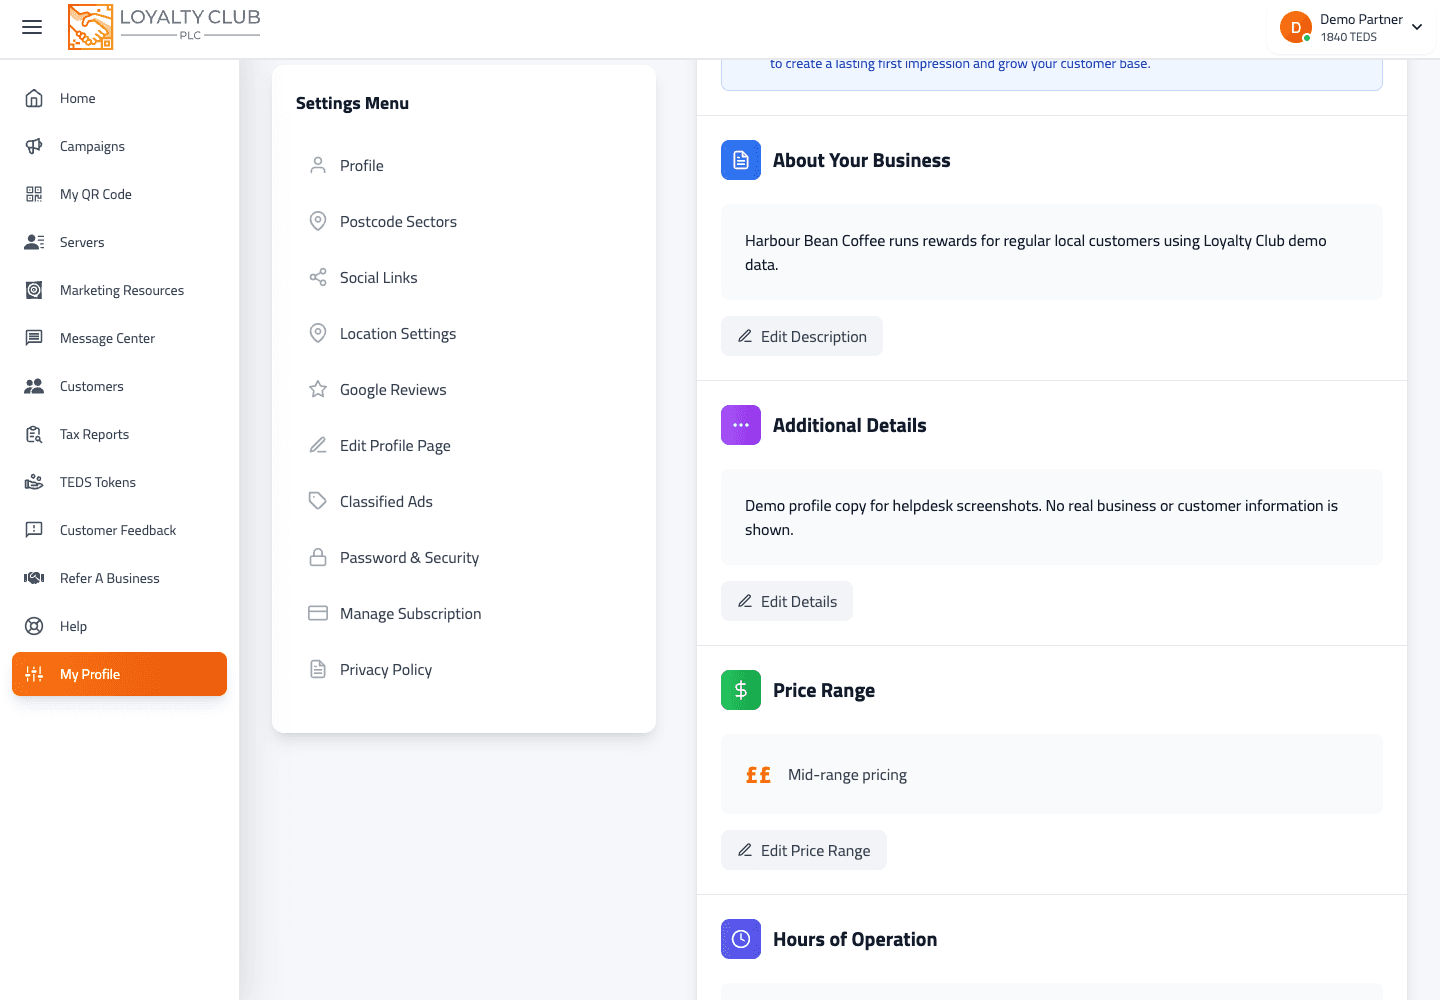
This is where you fill in the richer content for your member-facing partner page.
Available fields:
- About You — rich-text editor (Draft.js). Free-form intro to your business.
- More Details — second rich-text editor. Use it for additional info that didn’t fit in About You.
- Hours Available — opening / closing times per day of the week. Each day can have multiple slots (e.g. for businesses that close for lunch).
- Price Range — single-select: Inexpensive / Moderate / Expensive / Very Expensive.
Filling Edit Profile Page
- 01Open Edit Profile Page
From Settings → Edit Profile Page (or directly from the portal sidebar).
- 02Open the About You editor
Click into the field; the rich-text editor opens. Keep it short and friendly.
- 03Open the More Details editor
For anything additional — house rules, allergens, parking notes, etc.
- 04Set your opening hours
Per day, fill the opening + closing times. Add a second slot for split shifts (e.g. closes 14:00, reopens 17:00).
- 05Pick a price range
Inexpensive, Moderate, Expensive or Very Expensive.
- 06Save
Each section saves independently — confirm with the save action in each panel.
What to know
- Public profile colours are not customisable. The member app uses its own colour system for partner profile pages.
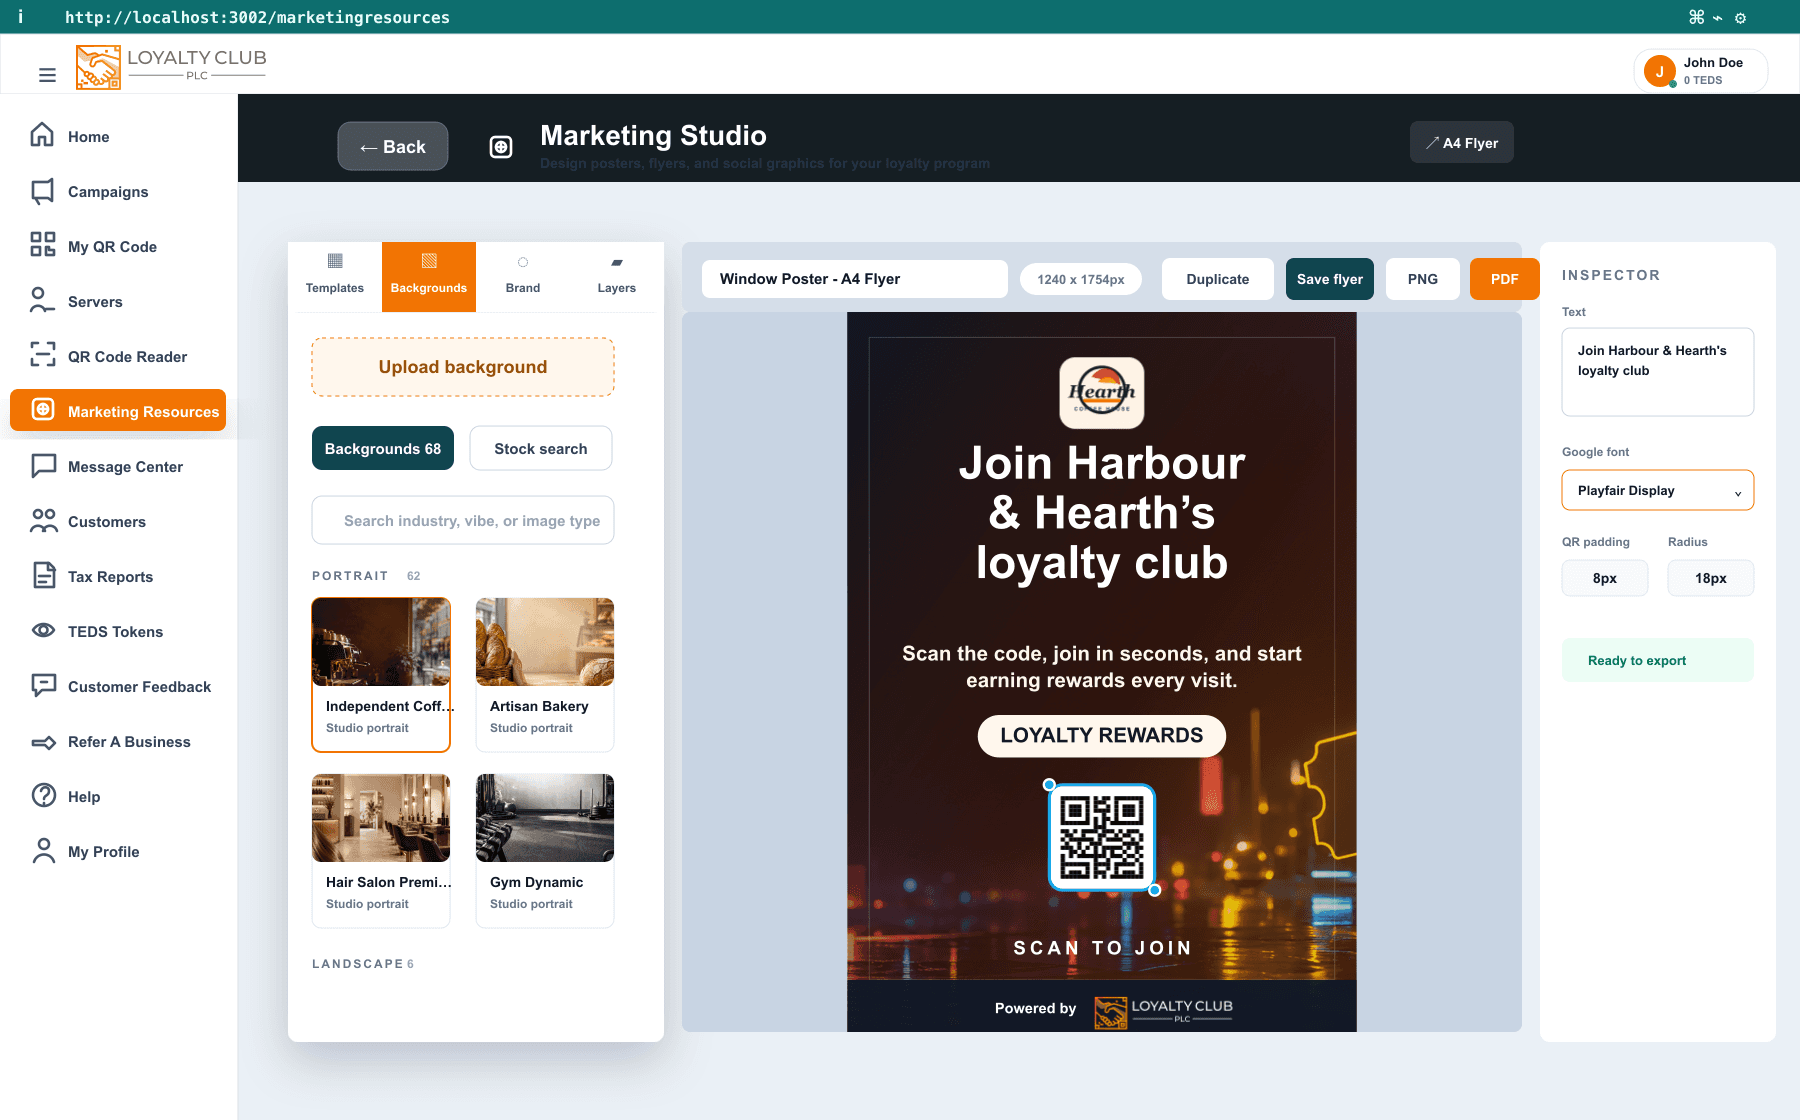
- Marketing Studio has flyer-specific branding. Brand palettes, backgrounds and typography apply to flyers and posters you create in Marketing Resources.
- Club emails have their own look. In Message Centre → Emails, the email editor sets six colours, serif or sans type and corner rounding for your club emails. The header of each email shows your logo and your business name. See Designing a club email.
- Profile hero images are not uploaded here. Logo + avatar are the profile uploads. Flyer backgrounds are managed in Marketing Studio.
- No video embed. Rich-text profile fields don’t currently support YouTube / Vimeo embeds.
For flyer and poster design, use Creating flyers in Marketing Studio. If your business needs a richer public profile page than what’s available, open a ticket — we collect feature requests for the partner page.
In one sentence
Settings → Profile (logo + avatar), Social Links (FB / X / IG), Edit Profile Page (About, More Details, hours, price range). Flyer backgrounds and palettes live in Marketing Studio; club email colours and type live in the email editor.