

It is switched on per account while we prove it with live venues. Ask us on the contact form if you would like it enabled.
Menu settings is one scrolling page at /menu/setup. The menu itself is built in Menu Studio; this page decides how ordering, payment, tips and loyalty behave.
Everything you change here goes live on every table QR the moment you save.
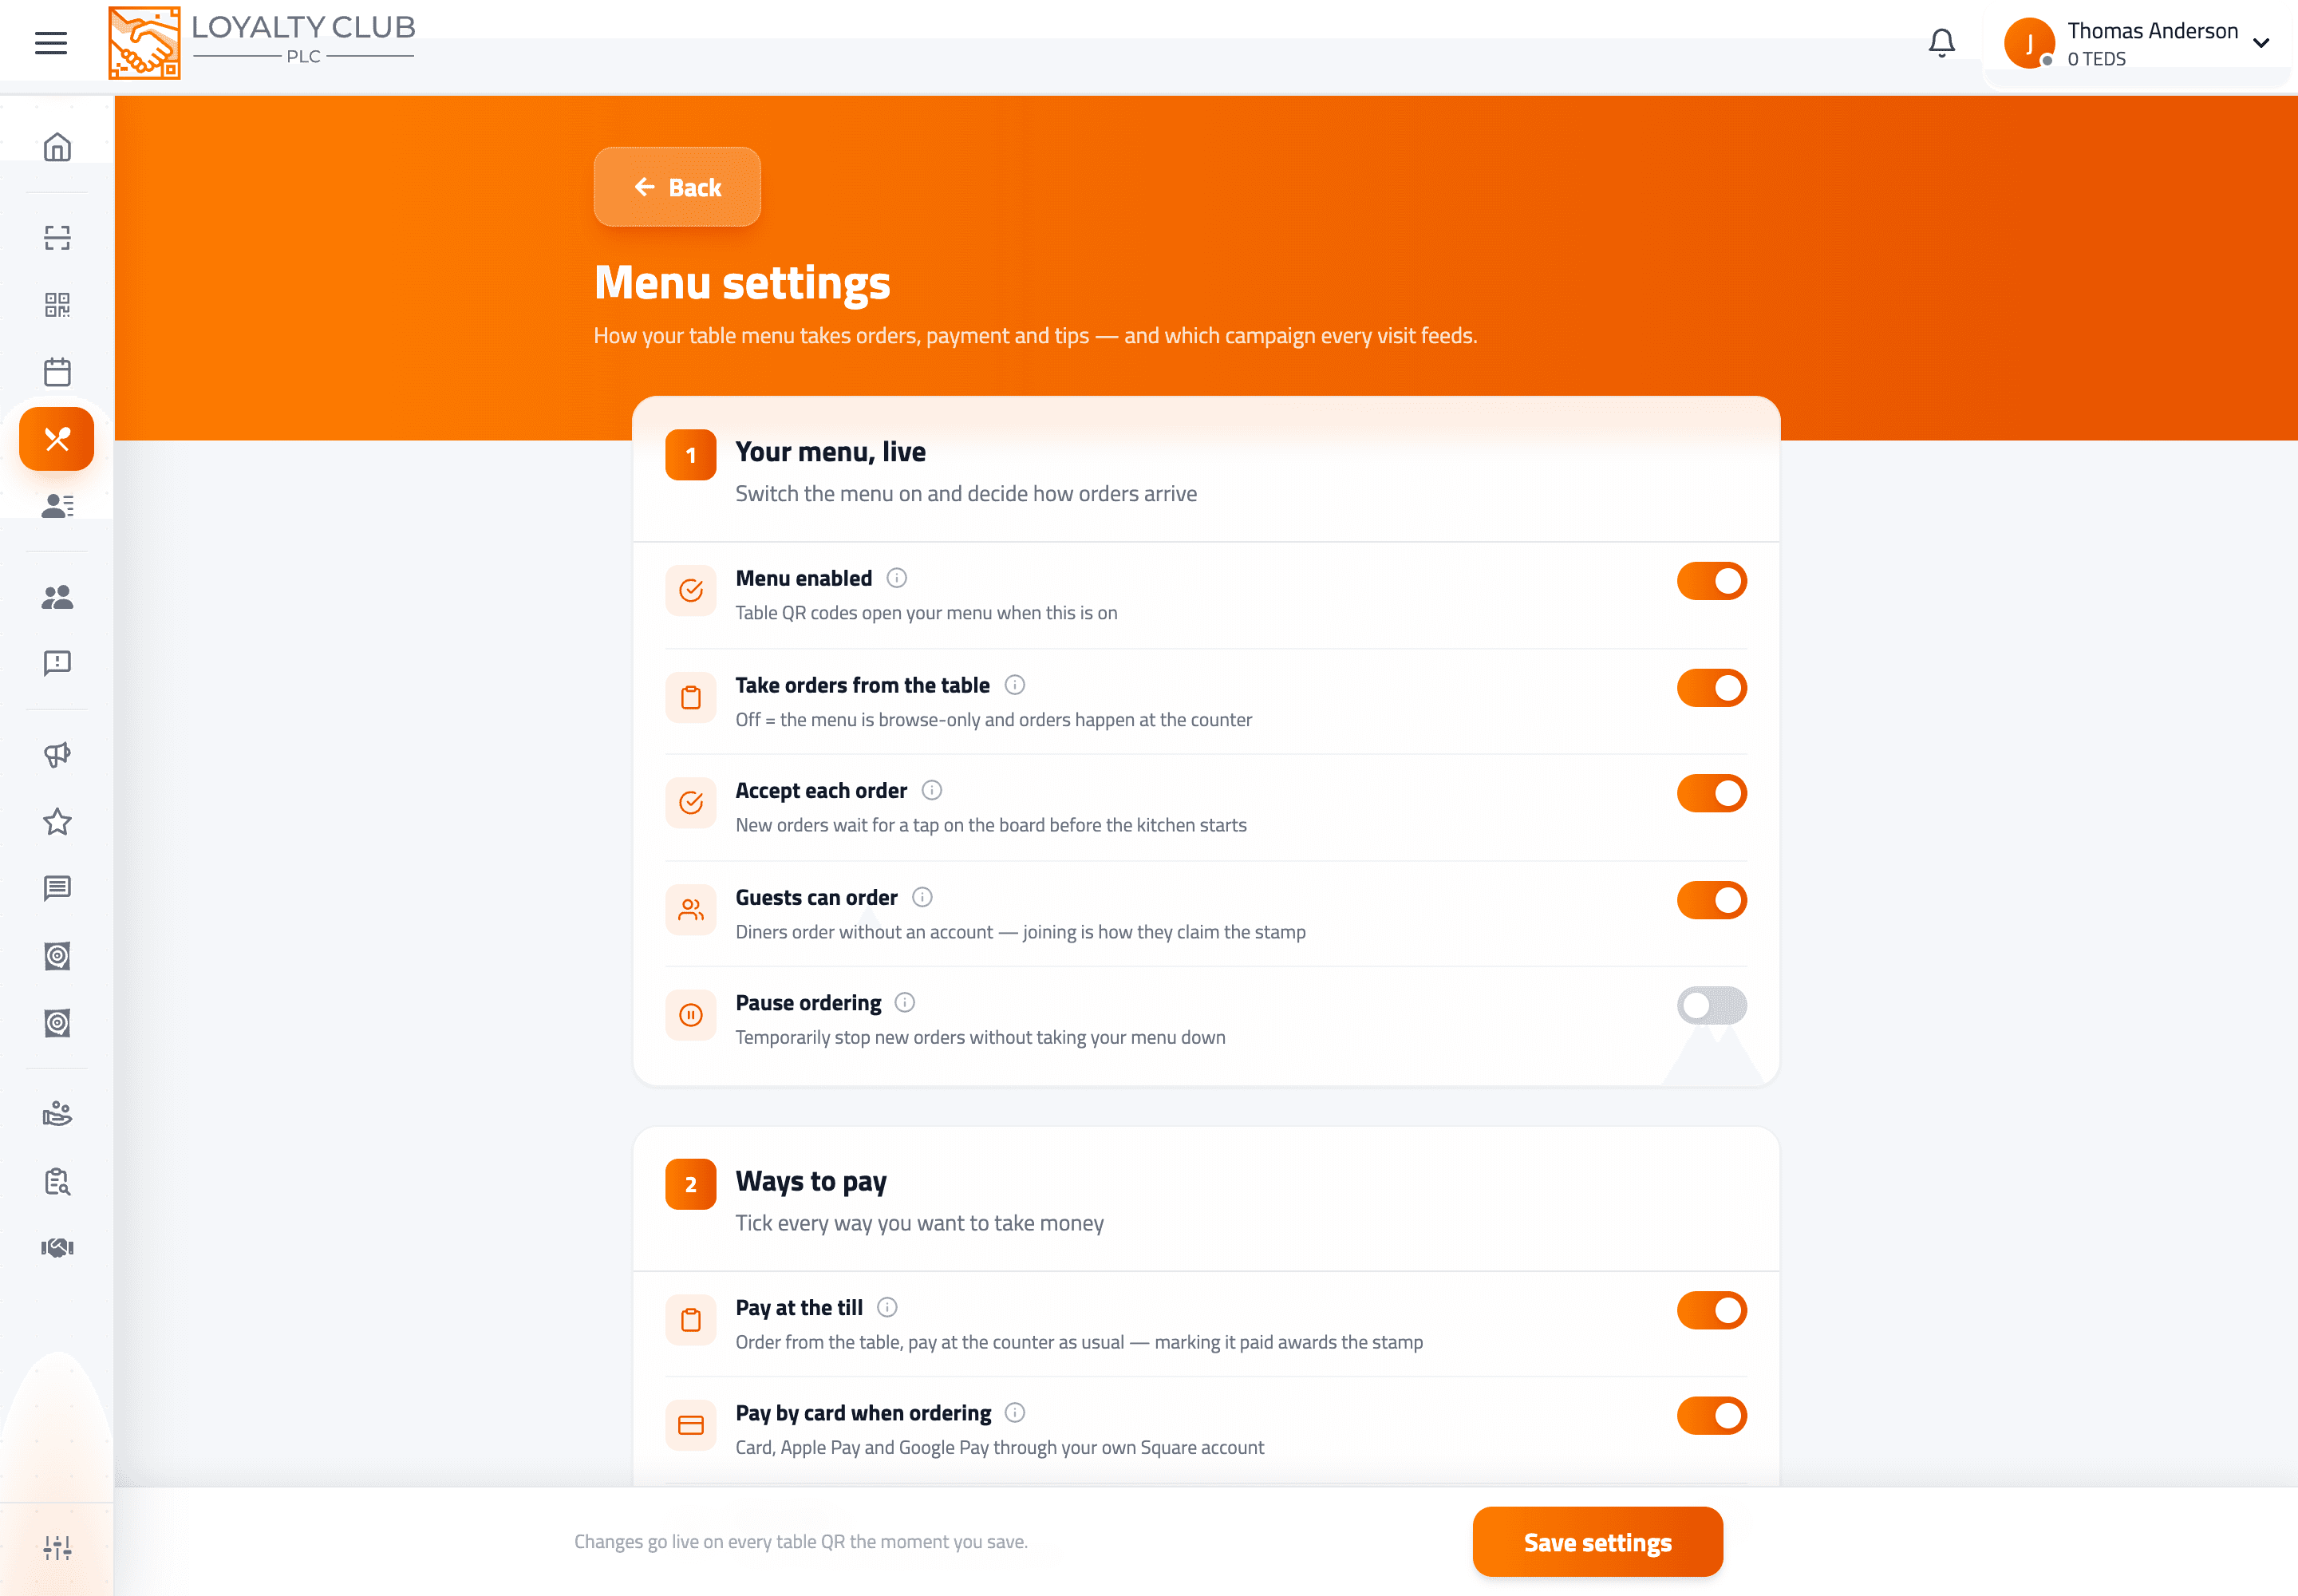
1 — Your menu, live
| Switch | What it does |
|---|---|
| Menu enabled | The master switch. Off, a table QR says the venue has not published a menu and nothing else on this page has any effect. On, every active table code serves your live menu. |
| Take orders from the table | Off, the menu is browse-only — full menu, photos and prices, no basket. People order with your staff exactly as they do now. |
| Accept each order | On (the default), new orders sit in the New column until someone taps Accept, so nothing is cooked that you have not seen. Off, orders go straight through as accepted. |
| Guests can order | On, anyone can order and pay without an account. Off, viewing the menu is open to all but ordering requires signing in. |
| Pause ordering | Your emergency brake. Diners still browse the full menu, but the order button is off. Nothing disappears from tables and resuming is the same tap. |
It is the throttle for a swamped kitchen and the protection against a prank order. Turn it off only once you are confident the flow is running smoothly.
2 — Ways to pay
Tick every way you want to take money. You can enable more than one, and the diner chooses at checkout.
Pay at the till — order from the table, pay at the counter as usual. Nothing changes about how you take money. When your staff take payment they tap Mark paid on the order board, and that tap is the moment the loyalty stamp is awarded.
Pay by card when ordering — card, Apple Pay and Google Pay, taken the moment they order. Money settles directly into your own Square account; Loyalty Club never holds it. The kitchen only sees the order once payment is confirmed, and members get their stamp instantly.
Run a tab — diners add rounds through the evening and settle one bill at the end, by card from their phone or at the till. You can also settle or write off any tab from the order board.
Tabs for members only — appears when tabs are on. This is your walk-out protection: signed-in members have an account and a history, anonymous guests do not. With it on, guests simply pay as they order. Turning it off lets anyone at a table run up a bill.
Enabling card or tab payments shows a status card on this page. Until your Square account is linked, card orders will fail. The Connect Square button is on the same card.
3 — Tips and service charge
Ask for a tip at checkout — when a diner pays from their phone they see an optional tip step before checkout: your three preset percentages plus a type-your-own box. Skipping is one tap, and pay-at-till orders never show it.
Service charge (%) — a percentage added automatically to every order subtotal and shown as its own line on the bill and receipt. It is separate from tips, which are always optional and chosen by the diner. Common for table service; most counter-service venues leave it at 0.
4 — Loyalty rewards
Award a stamp on payment — the loyalty engine. The moment an order is paid, by any route, the member earns their stamp automatically. Guests get a claim code valid for 14 days.
Linked campaign — which campaign order stamps count towards.
Leaving this blank uses your sole active campaign. If you run several active campaigns at once, the system cannot know where the stamp should go and will skip it — so choose the campaign explicitly.
5 — Menu banner
The photo diners see at the top of your menu. A wide shot of your room or a signature dish works best. Without one, the menu opens on a warm gradient.
6 — Allergen notice
Shown on every menu page, always visible to diners.
You tag the 14 UK allergens on each dish in Menu Studio. This notice covers everything else — cross-contamination, kitchen conditions, and telling people to speak to your team.
Allergen information is regulated in the UK and the data is yours. Keep both the per-dish tags and this notice accurate, and review them whenever a recipe changes.
In one sentence
/menu/setup → switch the menu on, choose how orders arrive and how people pay, set tips and service charge, link the campaign stamps feed, add a banner and your allergen notice → Save, and it is live on every table.